Blur People & Vehicles in Photos on Mac, Automatically
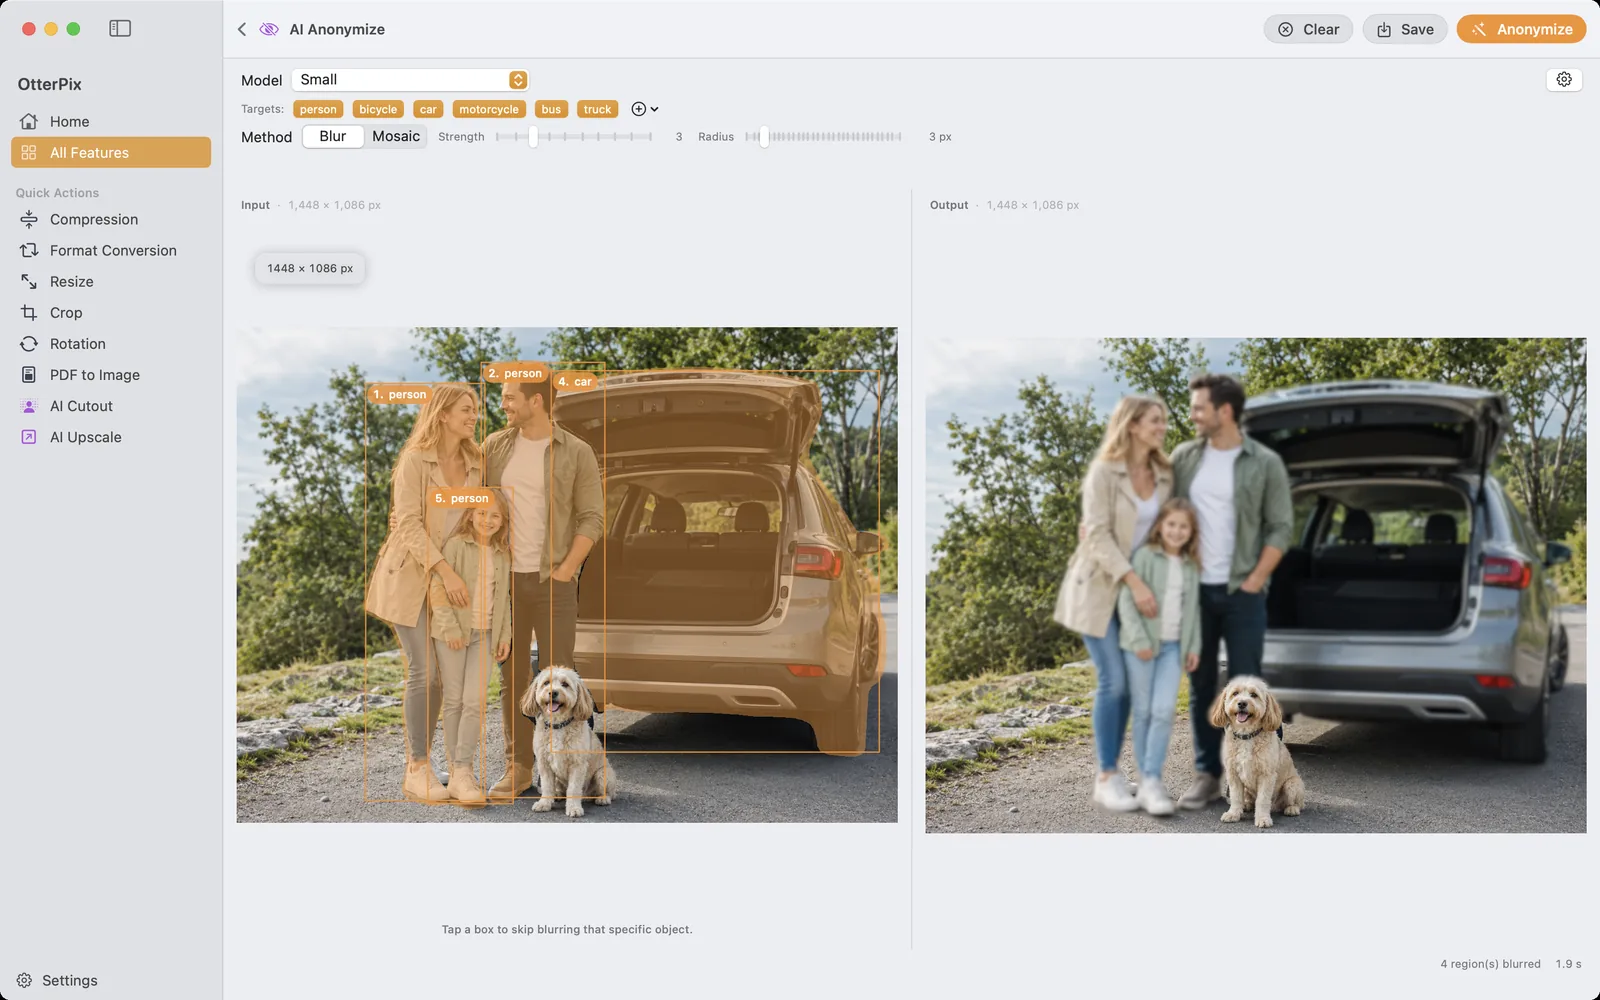
Some photos are easy to publish. The tricky ones are full of people who never agreed to be in your post — the crowd behind your friends at a street market, the car parked right in front of your café shot, the other kids in a school-event picture. AI Anonymize in OtterPix is built for exactly those: it detects every person and vehicle in the photo, covers each one completely, face and license plate included, and then lets you decide — one by one — who stays recognizable.
There is also a quieter point that matters more here than anywhere else: a tool whose job is to protect the people in your photos should not begin by looking at your photos. OtterPix runs both detection and covering on your Mac’s Apple silicon. The unedited original never touches a server, because nothing is uploaded in the first place.
When covering people and vehicles is the right call
A useful rule of thumb: the people you photographed on purpose can be asked — everyone else ended up in the frame by accident. Anonymizing is how you publish the moment without publishing the bystanders. Typical cases:
- Street and travel photography — the scene is the subject; the strangers in it are not.
- Event recaps and community posts — your friends said yes, the rest of the room didn’t.
- School, club and team photos — other people’s kids deserve extra caution, whether in a parents’ group chat or a public feed.
- Selling a car online — the listing needs your car sharp; the passers-by and the neighbor’s car in the background don’t have to come along.
How to blur people and vehicles in OtterPix
Detection is automatic; your judgment comes after. The whole loop looks like this:
- Open OtterPix, click All Features in the sidebar, and choose AI Anonymize.
- Drop your photo into the Input pane on the left.
- Click Anonymize. On-device AI finds the people and vehicles in the shot, numbers each detection, and shows the covered result in the Output pane.
- Pick a Method: Blur, Mosaic, Hex Mosaic, Solid Color or Rainbow Blocks. Strength sets how heavy Blur and the two mosaics are, Solid Color has its own Color and Opacity, and Radius widens the covered area around each detection.
- Click any numbered box in the input to exempt that person or vehicle — the output recomposes instantly, with no re-run. Click again to cover it again. The Targets chips switch whole classes at once, such as every car.
- Click Save (⌘S) and choose where the anonymized copy goes. Your original file stays untouched.
Five styles — which one to pick?
All five hide identity; they send different signals. Blur reads as photographic — softened, like a shallow depth of field — so the mood of the image stays intact. Mosaic and Hex Mosaic read as deliberate redaction: nobody mistakes those cells for an accident. Solid Color is the bluntest, a flat shape in any color you choose, and Rainbow Blocks trades the stern look for a playful one, handy for a lighthearted post where a black shape would feel heavy.
Two practical tips. First, be generous with Strength (or Opacity for Solid Color) — a timid effect can leave someone recognizable to people who know them, and you can judge the result live in the output pane. Second, stay consistent within a series: switching styles from one photo to the next turns the redaction itself into the story.
Keep yourself sharp, anonymize everyone else
The per-instance toggles are what make this a publishing tool rather than a blunt filter. Detection deliberately casts a wide net first — every person, every vehicle — and then hands you the guest list. You keep the subjects who agreed: yourself in the conference photo, your family at the trailhead, your own car in the listing. Whoever just wandered through the frame gets covered.
Because a toggle or a style change only recomposes the existing result instead of re-running detection, each click updates the preview immediately — auditioning “cover everyone except…” combinations costs nothing. And if you haven’t subscribed to Pro: the daily free run is counted per loaded photo, not per adjustment. Run once, toggle as much as you like, try all five styles, export — all of it is still that day’s single free use.
When you’d rather remove than cover
Sometimes anonymized isn’t what you want — you want gone. A photobomber right next to you, a trash bin in an otherwise clean scene, a stray water bottle on the table. That’s a different job, and it belongs to AI Eraser: paint over the object with a brush and the background fills in naturally, as if it had never been there. You can keep refining the same photo until the last trace is gone.
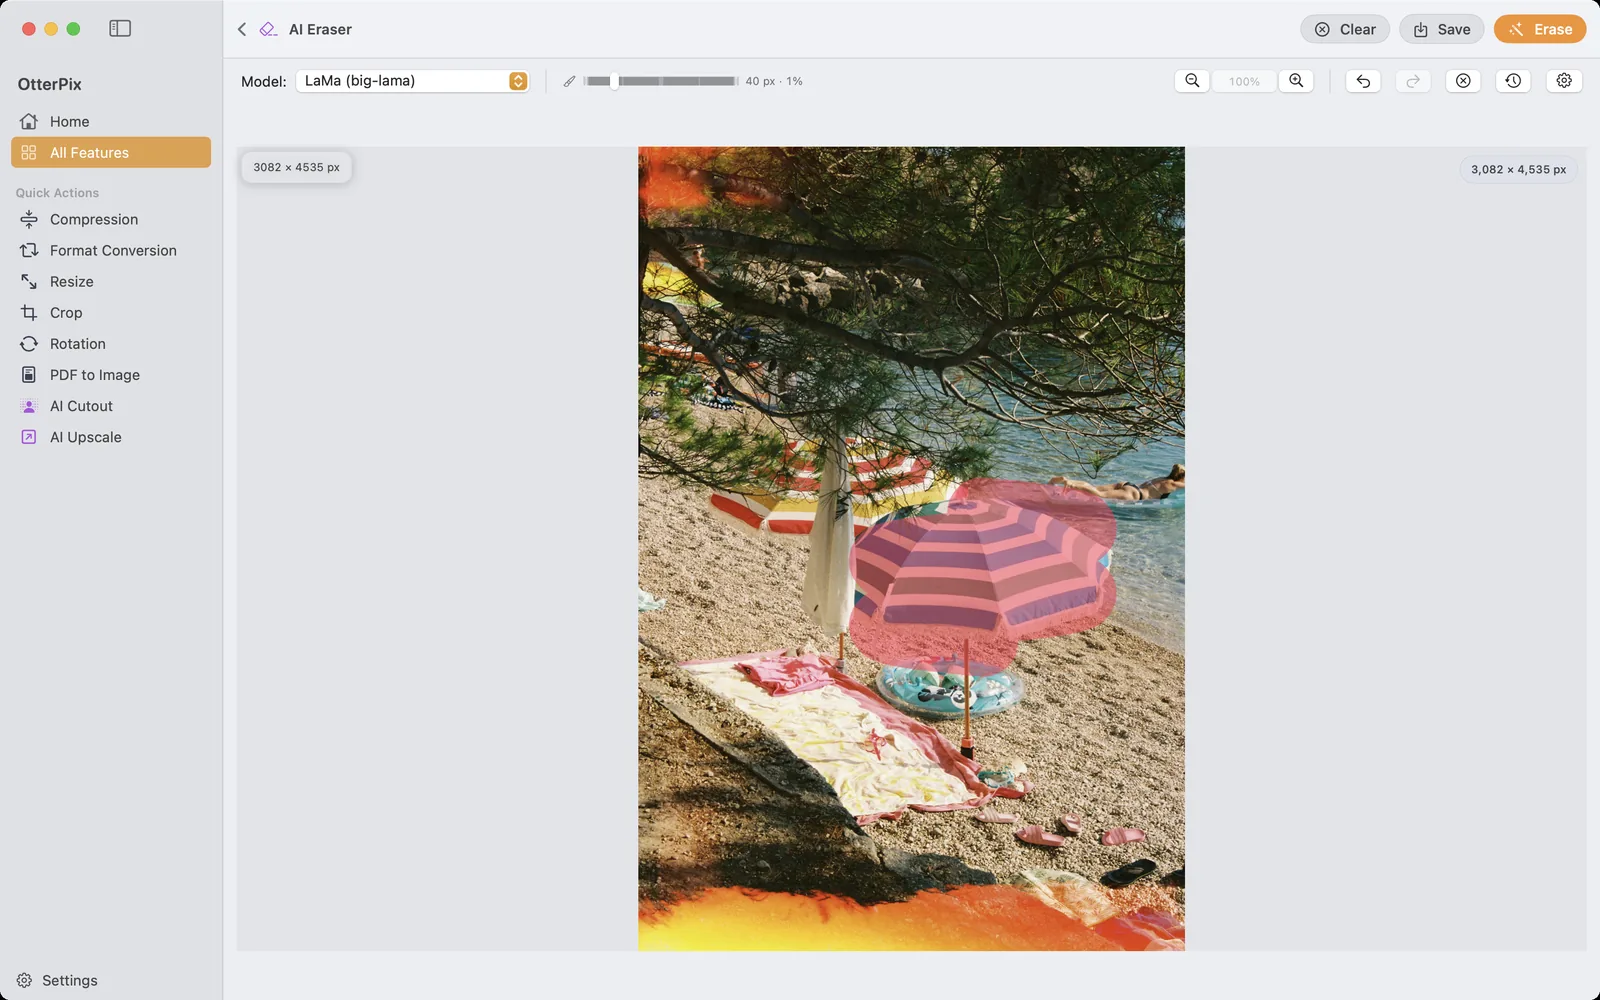
A simple way to decide: cover when the honest record matters (the person was there, the car was parked there), erase when the object is just visual noise. And before anything goes online, remember the photo’s invisible layer — EXIF metadata can carry the exact GPS coordinates of where you took the shot. OtterPix’s free Metadata tool strips that in a couple of clicks; the related guide below walks through it.
Frequently asked questions
Which style should I use to hide people?
Pick by signal. Blur looks photographic and keeps the image calm; Mosaic, Hex Mosaic and Solid Color are unmistakably deliberate; Rainbow Blocks keeps things playful. Whichever you choose, make sure the person or vehicle is genuinely hard to identify, and check the result in the output pane at full size.
Does it cover only the face or the license plate?
No — it covers the whole detected person or vehicle. A covered person includes their face, and a covered car includes its plate. If someone should stay visible while their car is hidden, exempt the person and leave the vehicle covered.
Can I keep one person sharp and cover everyone else?
Yes — that’s the core workflow. AI Anonymize detects every person and vehicle first, then you click any numbered detection to exempt it. The preview updates instantly with each toggle, so “everyone except me” or “every car except mine” takes seconds.
What if the detection misses someone?
Treat detection as a strong first pass, not a verdict — always review the output before publishing. Very small, cut-off or heavily obscured subjects can slip through. For a stray leftover, AI Eraser is a good companion: paint over it and remove it from the photo entirely.
Does OtterPix blur people in videos too?
No. AI Anonymize works on still images only — video isn’t supported. For a clip, export the frames you plan to publish as images and anonymize those.
Why does it matter that anonymization runs on-device?
Because the input is exactly the thing you’re trying to protect. Uploading an unedited photo to a cloud service so it can come back blurred means the original — faces, plates and all — has already left your hands. OtterPix runs detection and covering on your Mac: the model is downloaded once on first use, and after that the feature works without a connection. Nothing is uploaded at any point.
Try it on your own photos
OtterPix is free on the Mac App Store, and each Pro AI feature runs free once a day. OtterPix Pro unlocks unlimited runs and Folder Automation.

Related guides
View & Remove EXIF Data on Mac (GPS Location Included)
Your photos know where you live. See the EXIF and GPS inside, then strip it — on your Mac.
Remove Objects (and People) from Photos on Mac
Tourists, wires, trash cans — brush over them and AI fills the gap, right on your Mac.
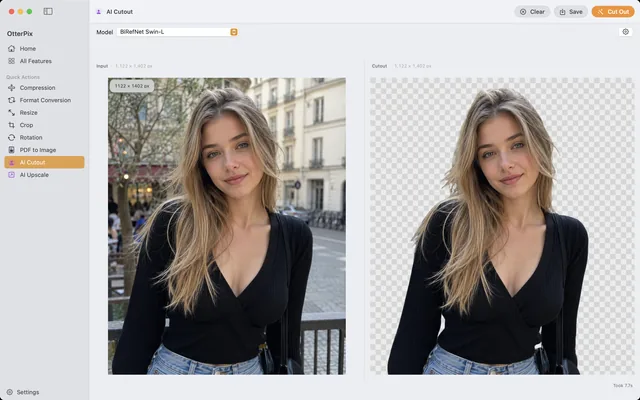
Remove Image Backgrounds on Mac — Local AI, No Uploads
Product shots and avatars on a clean transparent PNG — cut out on your Mac, no uploads.