How to Convert PDF to JPG or PNG on Mac (Free, Offline)
A slide deck wants a picture, not a PDF. A website form accepts JPG only. A chat app shows a PDF as a file icon nobody opens. In all of these cases what you actually need is the page as an image: one page, a handful, or every page of the document as numbered files.
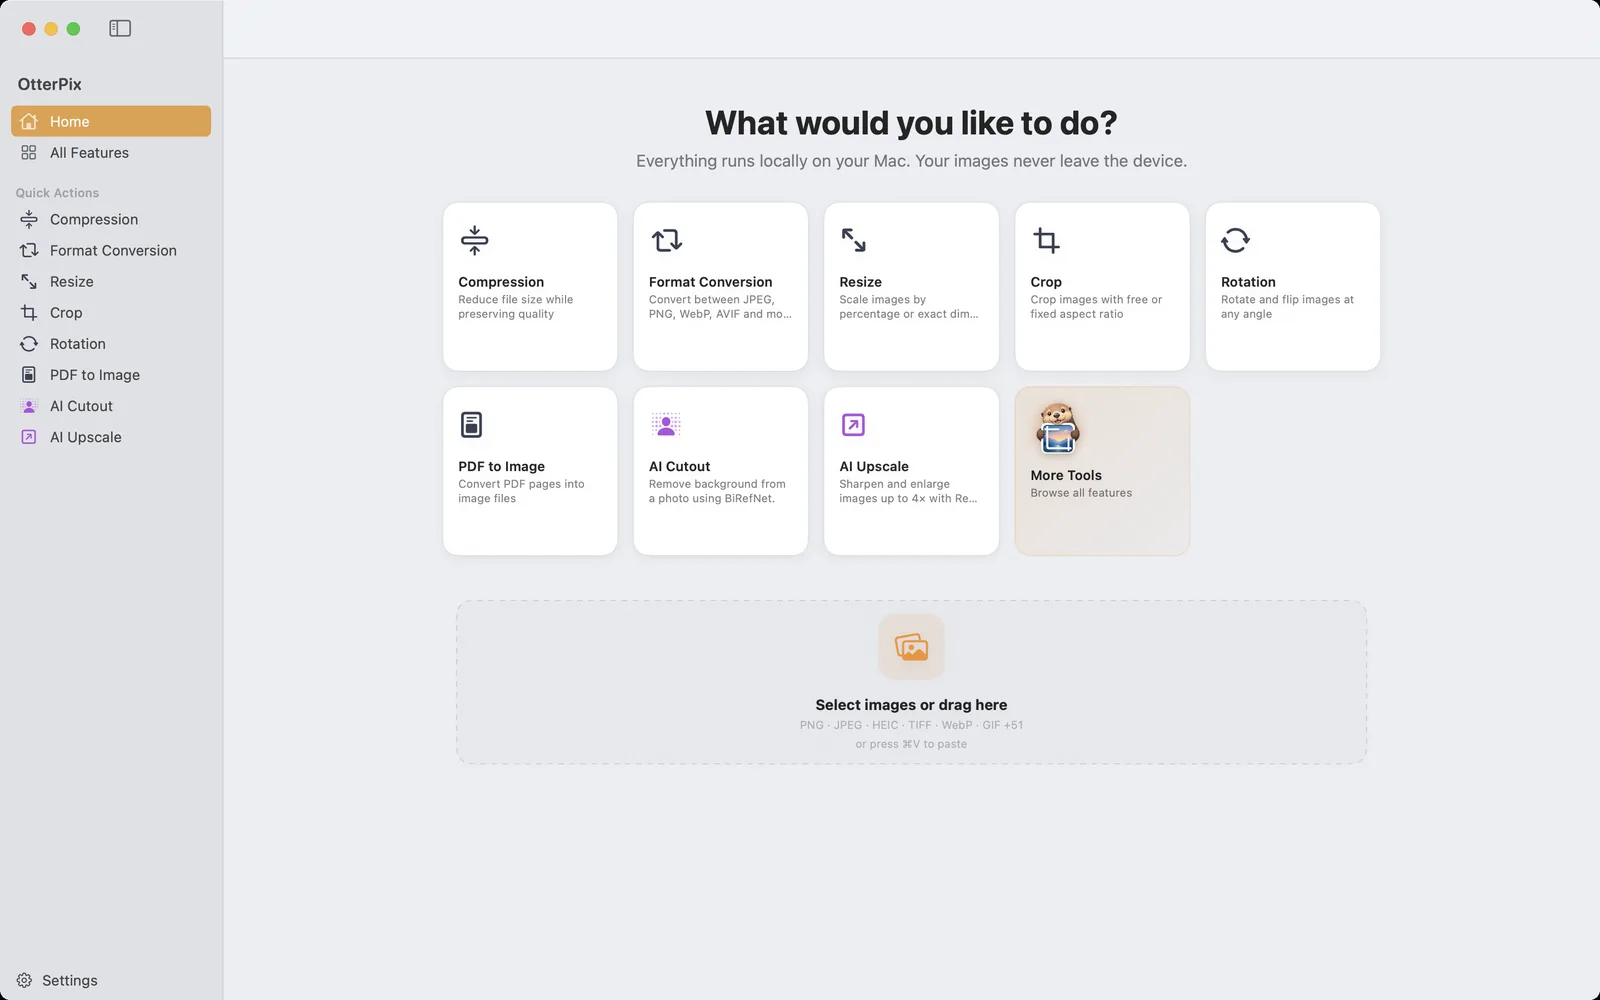
OtterPix has a small tool for exactly that, PDF to Image. It renders PDF pages to JPEG or PNG at the resolution you choose, on your Mac, without uploading the document anywhere. It is one of the free tools, with no page limit and no watermark.
Why not just take a screenshot?
A screenshot captures whatever your screen happens to show, at your screen’s resolution, one page at a time. A PDF page is usually drawn from vector text and shapes, so it can be rendered at any resolution: ask for 300 DPI and text edges are genuinely sharper, not just scaled up. Rendering also gives every page the same size, with a clean white background, and does a 60-page range in one go.
Online converters do batch work, but they require uploading the PDF. For contracts, invoices, medical letters or anything else you wouldn’t email to a stranger, a local tool is the better fit.
How to convert PDF pages to images
- Open OtterPix and click PDF to Image on Home (or find it under All Features).
- Drop your PDF onto the drop zone, which reads “Select or drag a PDF file here”. You can also click it to choose a file, or paste a PDF with ⌘V. A page-by-page preview appears on the left.
- Under Conversion Options, choose All pages, or Range and enter From and To. For a single page, set both to the same number. The line underneath confirms how many pages are selected.
- Pick the Resolution (DPI): 72, 150, 300 or 600. 150 is the default.
- Choose the Output format: JPEG or PNG.
- Click the button at the top right, which names what will happen, for example Convert & Save Page 3 or Convert & Save 12 Pages (⌘S). One page opens a save dialog; several pages ask for an output folder.
Multi-page exports are named after the PDF with the page number added, such as report_page_1, report_page_2, so they sort in order in Finder. To work with a different document, click Select another PDF.
Which resolution and format to choose
- 72 DPI keeps the page at its nominal size in points. Enough for thumbnails and quick previews.
- 150 DPI is a sensible default for screens, slides and chat. An A4 page comes out at roughly 1,240 × 1,754 pixels.
- 300 DPI is the usual choice for printing and for reading small print. An A4 page becomes roughly 2,480 × 3,508 pixels.
- 600 DPI is for fine detail, such as zooming into a technical drawing. Files get large quickly.
- PNG is lossless and keeps text and line art crisp. Choose it for text pages, diagrams and anything you might edit again.
- JPEG makes much smaller files and suits pages that are mostly photos. Its quality follows Default Quality under Settings → Export.
Images or text: the right tool for the job
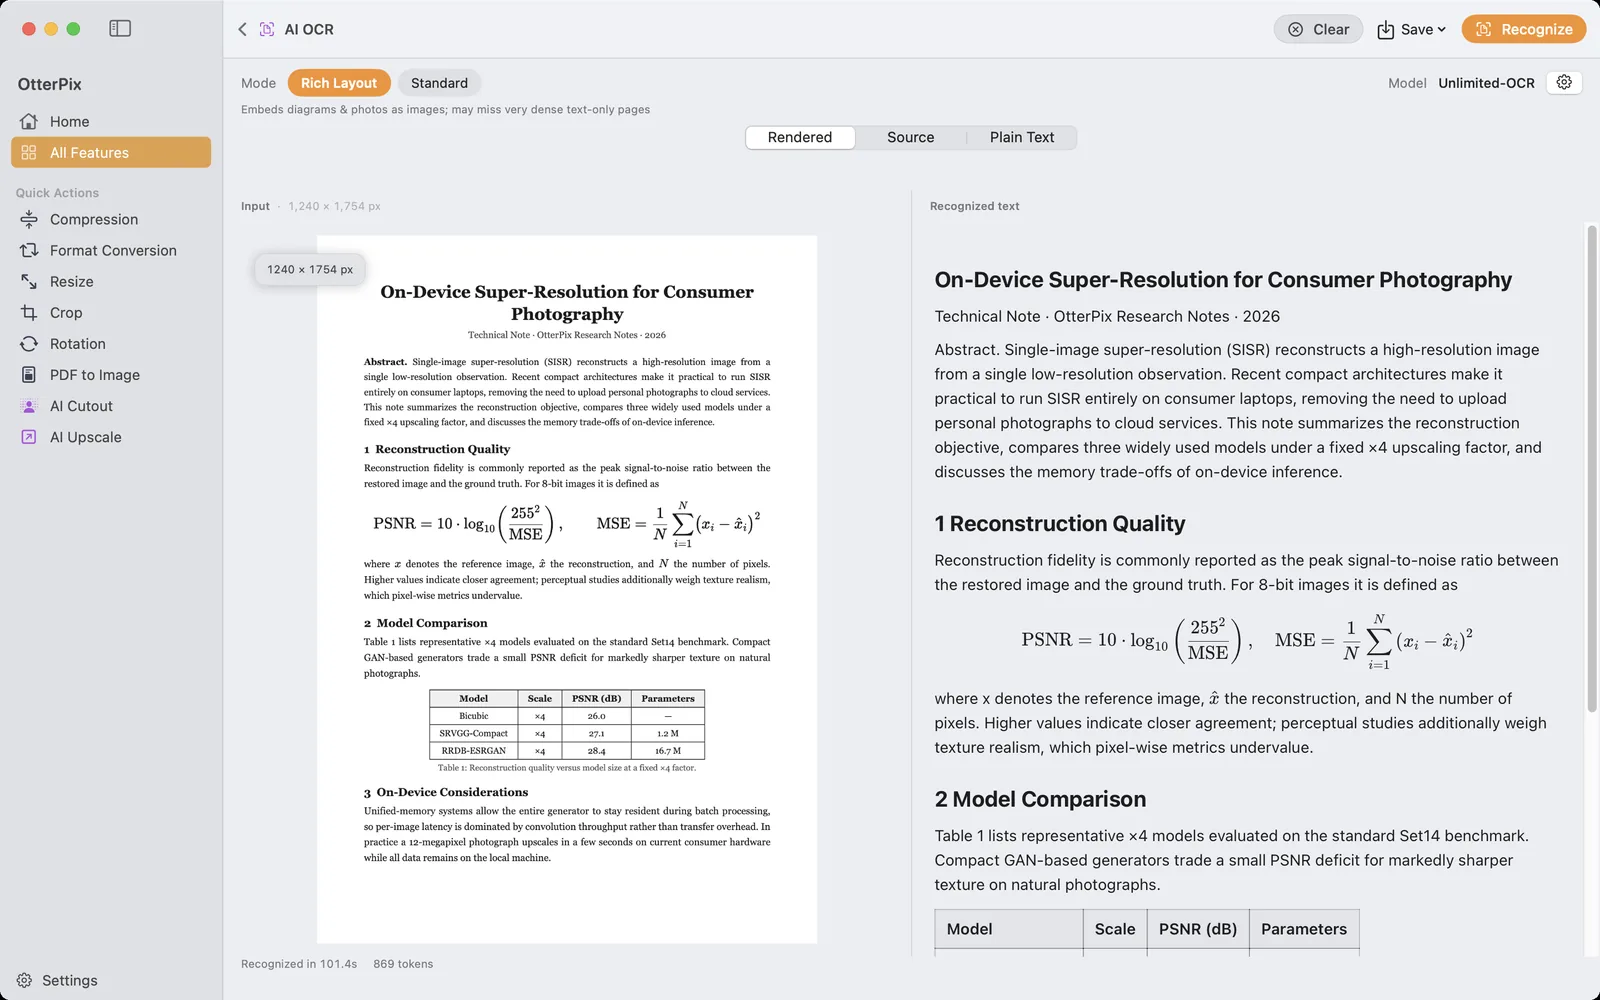
PDF to Image keeps a page exactly as it looks. If what you really want is the text of a scanned PDF, to search it, quote it or paste it into a document, use AI OCR instead: it reads the pages and returns Markdown with headings, tables and formulas. And if the exported images are bigger than you need, the free Compression and Resize tools shrink them in a second pass.
Two Settings options apply to the files PDF to Image writes. Filename Suffix under Settings → Export is added to each name, and When File Exists decides whether an existing file is overwritten or the new one is renamed automatically.
Frequently asked questions
Is converting PDF to JPG free in OtterPix?
Yes. PDF to Image is one of OtterPix’s free tools. There is no page limit and no watermark, and it runs entirely on your Mac.
Can I convert only some pages of a PDF?
Yes. Choose Range and enter the first and last page in From and To. For a single page, enter the same number in both fields; the button then reads Convert & Save Page followed by that number.
What DPI should I use?
150 DPI for screens, slides and messages; 300 DPI for print or small text; 600 DPI only when you need to zoom into fine detail. Higher DPI means sharper pages and larger files.
Does it work with password-protected PDFs?
No. OtterPix shows that the PDF is password-protected. Remove the password in an app where you can unlock it, then convert the unlocked copy.
Can I get the text out of a scanned PDF instead?
Yes, with AI OCR, a separate free tool in OtterPix. It recognizes the pages on your Mac and exports Markdown or plain text.
Get OtterPix for Mac
Free on the Mac App Store. Every basic tool is free forever, and nothing you open ever leaves your Mac.

Related guides
Extract Text from Images and Scanned PDFs on Mac, Offline
A scanned PDF you can’t search or copy from? Turn it into Markdown on your Mac, offline.
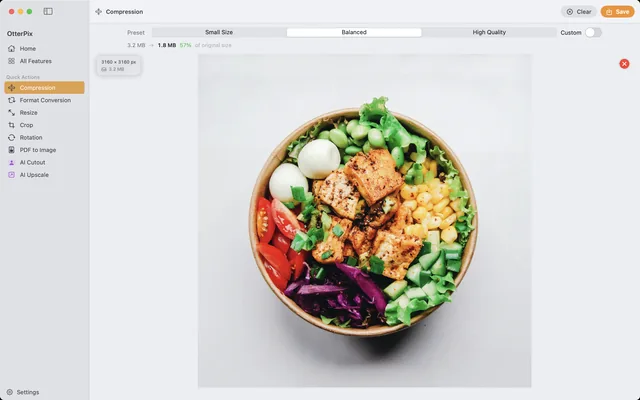
Compress Images on Mac Without Visible Quality Loss
Shrink photos for email, web or cloud — and see the new file size before you save.
How to Convert HEIC to JPG on Mac (Free & Offline)
iPhone photos that won’t open elsewhere? Batch-convert HEIC to JPG on your Mac, offline.